


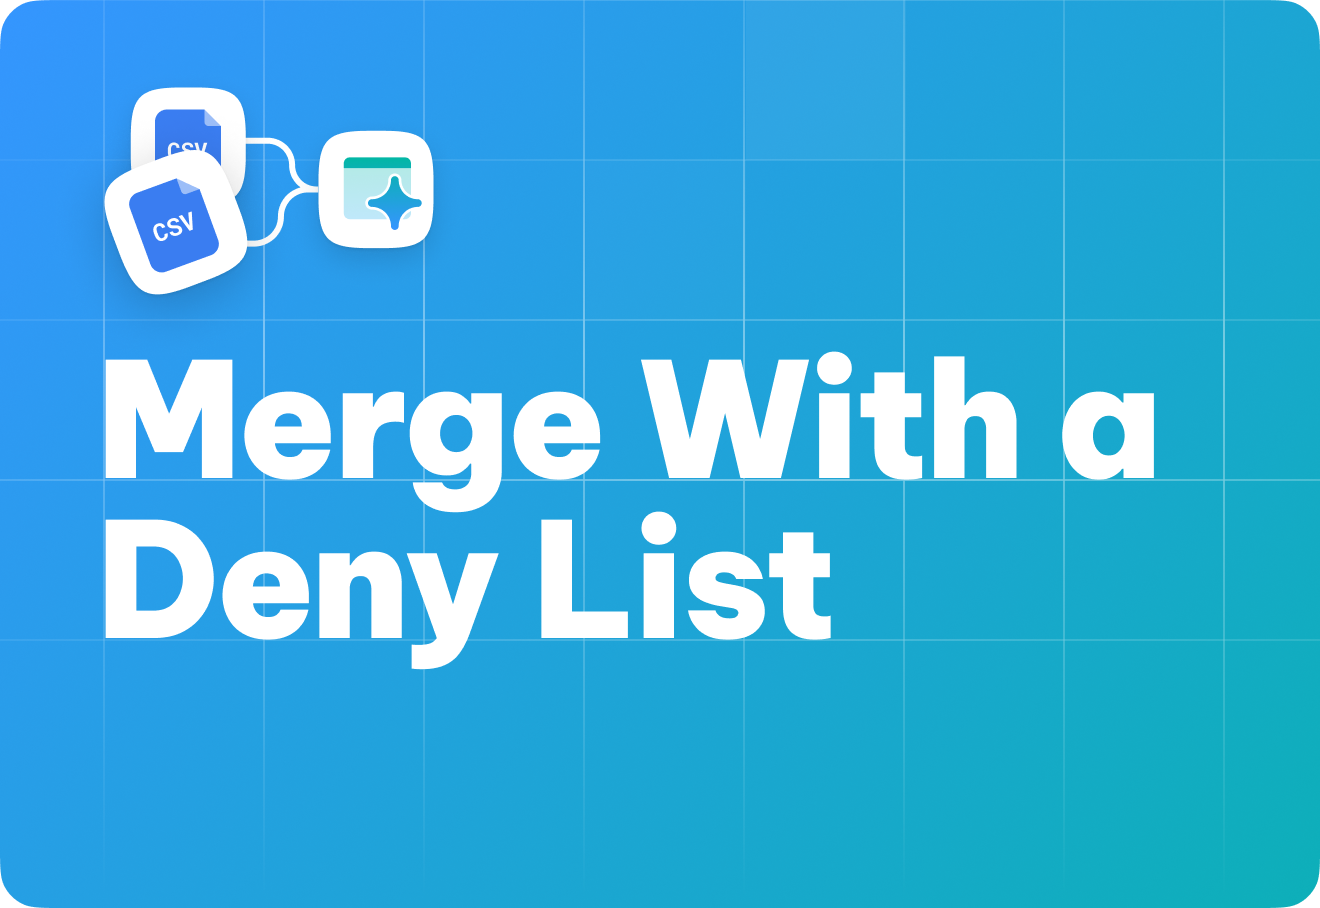

Step-by-step tutorial on how to merge files while excluding items in a deny list using Tabula.
Merging files is a common task in data management, but sometimes it's necessary to exclude specific content from the merging process. This is where a "deny list" comes into play. In this blog post, we'll explore how to merge files while excluding unwanted data using a deny list, along with real-world use cases and examples to illustrate its practical applications.
What Is a Deny List?
A deny list is a list of items that should be excluded or denied during a merging process. It can be used in various contexts, from data consolidation to merge code, and more. By applying a deny list, you ensure that certain elements are intentionally left out of the final result. For example: You have two CSV files containing customer data. You want to merge them into one file, but you want to exclude any records where the "Email" field matches those in a deny list. This ensures you're not including customers who have requested to be excluded from your marketing campaign.
Scenarios where it’s needed to match data with a deny list:
1. Blacklist Filtering: Deny lists are instrumental in identifying fraudulent activities. By comparing transaction data against a list of known fraudulent accounts or activities, businesses can prevent unauthorized transactions and enhance security measures.
2. Excluding Outliers: In customer behavior analysis, it's crucial to maintain accurate insights. Deny lists help exclude certain groups that might distort data, such as employees or test accounts. This exclusion ensures a more precise analysis of genuine customer behavior.
3. Error Identification: Deny lists serve as error filters. By using a deny list, you can flag or remove rows that contain known errors or inconsistencies, ensuring data accuracy and reliability.
4. Conflict Avoidance: During database mergers or platform transitions, conflicts and duplications are common issues. Deny lists act as safeguards, preventing overwriting or duplication of essential records. This ensures data integrity and coherence.
5. Control Group Maintenance: Deny lists play a vital role in scientific experiments and A/B testing. By utilizing a deny list, you can guarantee the separation of control and test groups. This separation is essential for unbiased and accurate experimental results, free from overlapping variables.
Typicly users need to create a SQL or Python code to merge the sales data while excluding the items in the deny list. In our guide, we will show how to avoid complicated scripting and merge files with a deny list just in 5 steps.
Tabula offers a 100% free Community Version that guarantees uninterrupted access to its powerful features. Begin your data integration journey today!
A Quick Guide on How Merge Files With a Deny List in Tabula
For our guide, we will use two email lists, the first one - is the whole email base, and the second contains users that need to be unsubscribed from further email communication.
1. Download and Sign In
Download Tabula and create an account. It's quick and easy, ensuring uninterrupted access to powerful features.
Download Tabula and Watch the Guide
2. Add Your Data
In the 'Flow' tab, click on 'Source' to seamlessly add your data. You can also create a deny list manually within Tabula - just click on the ‘Empty table’ node

Manual table creation:

3. Join Tables Using 'Join' Node
Merge your tables using the 'Join' node. Select 'Left join' to add your deny list to the main dataset.
Follow the tutorial on merging datasets in Tabula (link)

4. Filter Unwanted Rows
Use the 'Filter' node to exclude deny list items. Keep only the rows that don't match deny list criteria.

5. Save Your Results
Select the 'Output' node, choose the destination and file name, then click 'Run' to save your merged data

We are done!
Use this tutorial to consolidate similar datasets into a single table. With Tabula you can easily blend any tables simplifying your data manipulation tasks.
Explore Tabula: Top 3 Tutorials
1. What is Tabula: Learn about Tabula and its powerful data integration capabilities.
2. Download and Login: Step-by-step guide on downloading Tabula and creating your account.
3. Start Your First Project: Dive into your first data integration project using Tabula’s user-friendly interface.
Click here to grab your Tabula app for free now! Want to learn more about the solution and speak with a data expert about your analytics tasks? Book a free consultation with us >>
Happy Tabuling!
Aggregate your data and automate analytics
Use drag-and-drop to build data pipelines on the fly
Start Free


